Connecting a Document Camera for use in Zoom
This document provides guidance installing the necessary drivers for using a Document Camera in a Zoom Online Meeting. Additionally, a Sphere applications will be downloaded to aid you in recording your document camera session.
Installing the Document Camera Drivers
- You need to be connected to the UHD network via VPN to download the driver installation
- You will first need to secure the Driver Installation files these can be downloaded at: https://extract.uhd.edu/downloads/sphere/sphere.exe
- Without the Driver Installation files you will not be able to install the drivers and your PC will not be able to use the Document Camera
- Once you click the link the download will start automatically
- Click the downloaded file to begin the install process.
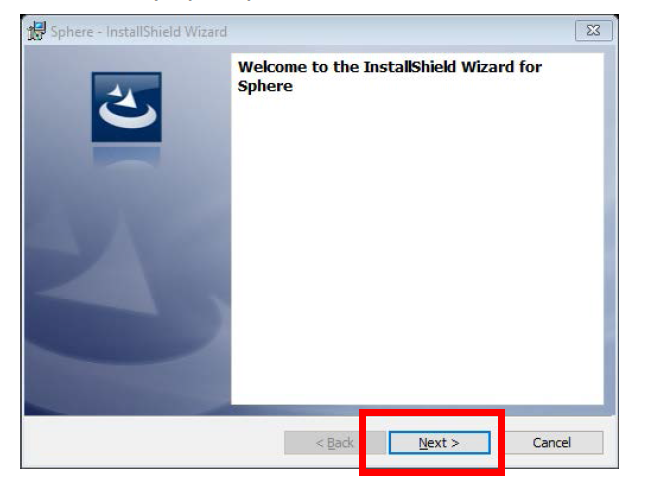
- When the InstallShield Wizard pops up choose Next
- Read and Accept the terms of the licensing agreement

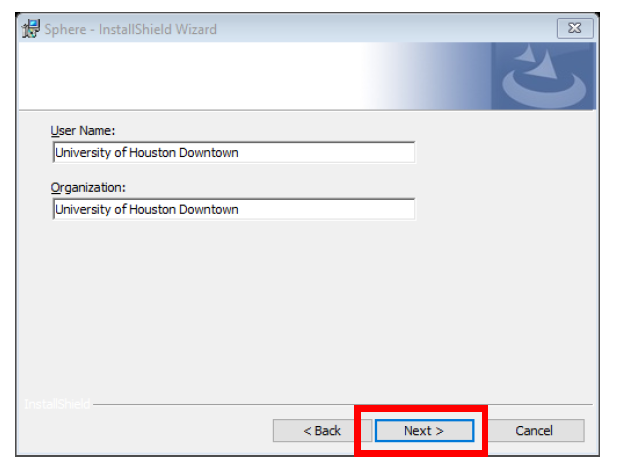
- Provide the Customer Information: University of Houston-Downtown is fine. Click next
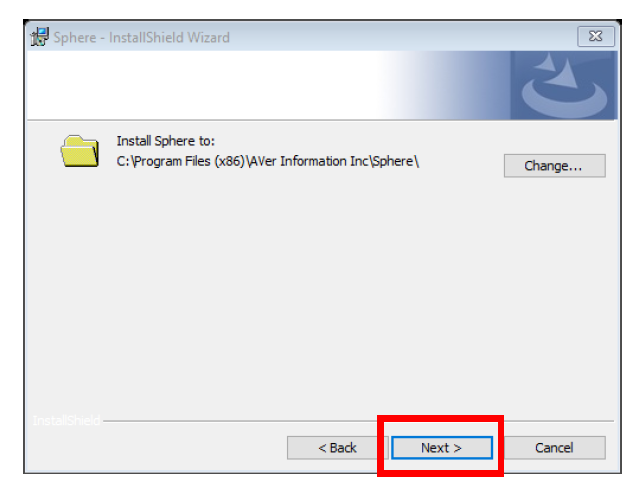
- Choose the Destination Folder for the Drivers – leave this as the default – and click next
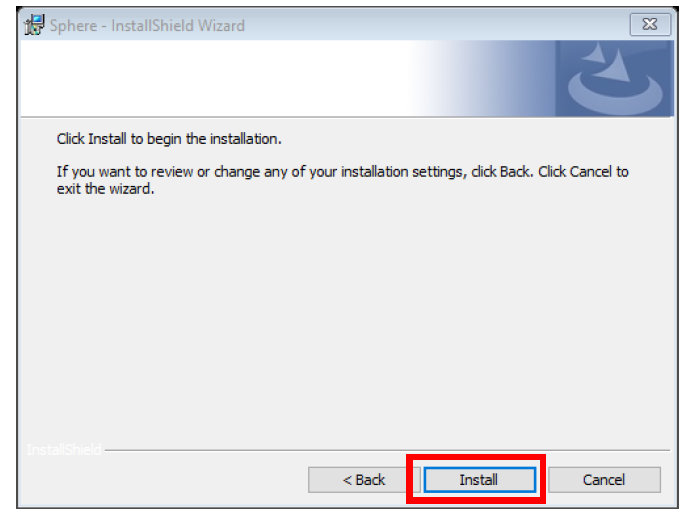
- Click on Install to begin the installation process
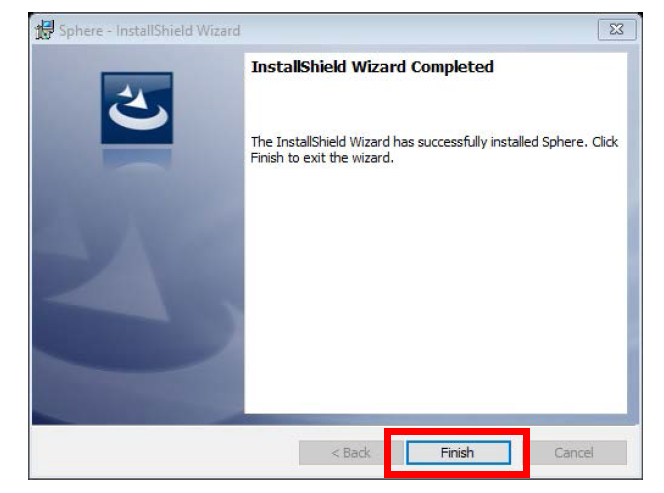
- Installation will begin – once complete click Finish. The Sphere application for the Document Camera is now ready to go
Connecting the Document Camera
- Once the drivers are installed you can now connect your document camera using the provided USB cord
- Ensure that the power is now on for the camera and it is ready to use
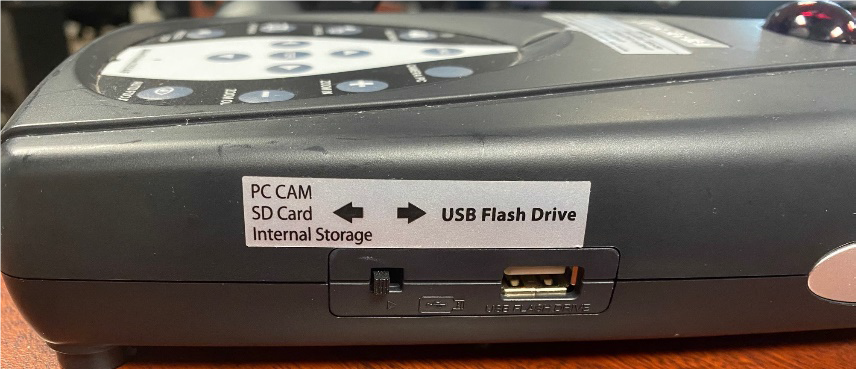
- On the right hand side of the camera there is a small switch – make sure this is pulled toward you. It should read “Internal Storage” if the switch is pushed away from you to the “USB Storage” option the camera will not work properly.
- Go to your Zoom application and log in
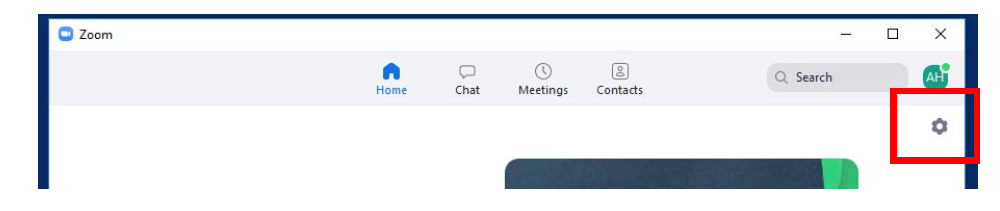
- In the Zoom application go to your application settings
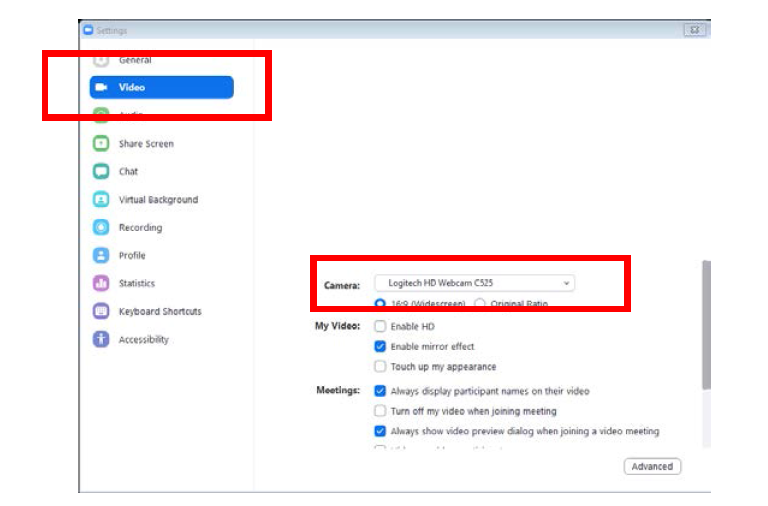
- Go to the Video tab on the left and make sure the Camera drop down menu is set to the Document Camera (usually named AVermedia or AverVision USB Camera) – if you have no other cameras attached to your computer you can skip this step.
Using the Document Camera in a Zoom meeting
- To use the Document Camera in a Zoom meeting you will need to start a meeting
- If you only have the Document Camera attached to your computer or have selected the Document Camera as your primary camera (see step 2) then you only need to make sure that you are sharing your video feed
- If the camera picture has a red slash through it then click the button to activate your camera

- If you have multiple cameras attached to your computer and the Document Camera is not your primary camera (you skipped Step 2) then do the following:
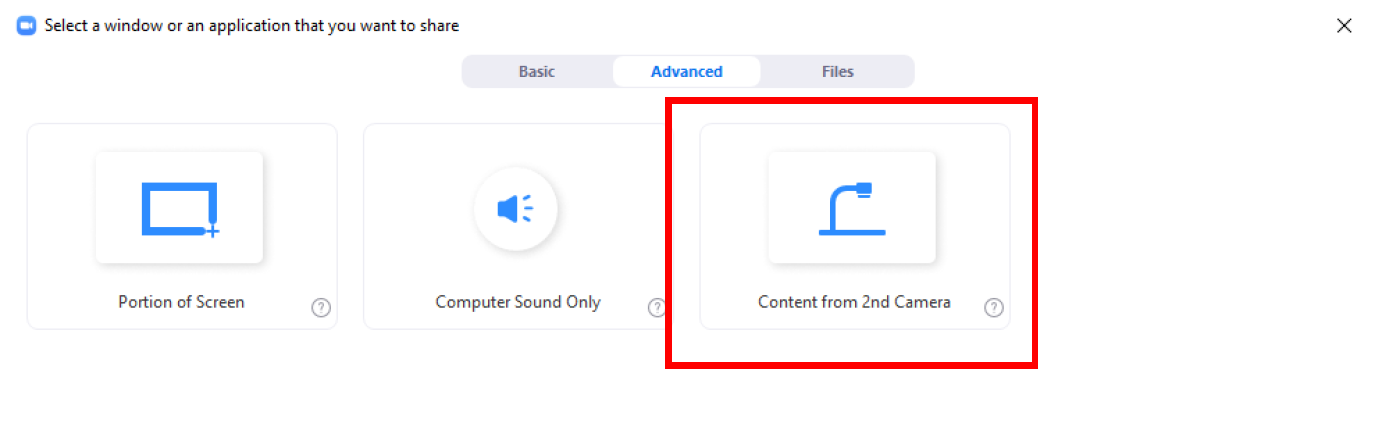
- Choose the “Share Screen” command

- In the Share Screen dialogue box go to the Advanced Tab at the top and choose “Content from 2nd Camera”
- As long as you set the Document Camera as your preferred Video camera (see step 2) your Document Camera view will be shared to the Zoom Meeting and can be recorded using the Zoom recording options
Using the Sphere Application
- If you prefer to not use Zoom the document camera does have the ability to record the shared document directly through the Sphere application. Sphere recordings will be saved to this default location: C:\Users\”username”\AppData\Local\Sphere\Aver\C\Users\”username”\Documents\Sphere\Media Library – look for a folder in your Documents area that says “Sphere”.
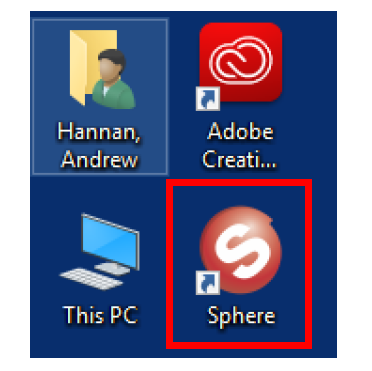
- In order to use the Sphere application double click the Sphere Application icon
- To record your presentation click on Record in the top control panel

- Other controls include:
- Annotation – for drawing on your displayed document
- Presenter – allows for spotlighting and covering unneeded parts of the document
- Capture – takes a screenshot of your currently display
- Split Screen – allows you to split what is shown on screen between the document camera, your desktop, and a secondary webcam
- Widget Mode – allows you to collapse the document camera to a picture-in-picture size
- GradeCam – currently unavailable