Annotating and Editing in DocuWare
Documents can be annotated and edited in the DocuWare Document Viewer, but your ability
to do so depends on your level of access. Annotating and Editing tools are stored
in a collapsible toolbar. The toolbar is customizable and can be displayed on either
the left or right side of the viewer, or both. Start by opening a document from Searches
or Document trays.
Document Viewer Toolbar
All users can access the toolbar, which is hidden by default.
To expand the toolbar, click the caret in the top left corner of the Document Viewer.
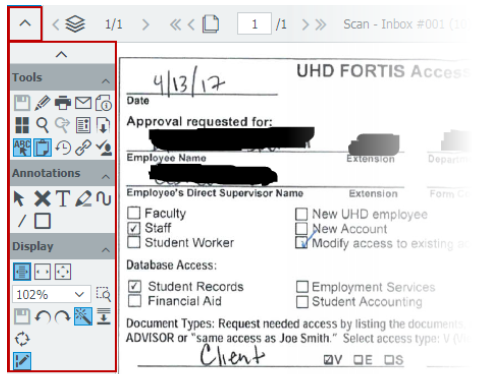
The toolbar opens on the left side of the document and contains three main sections
by default:
- Tools
- Annotations
- Display

Each of the three sections of the toolbar is described below.
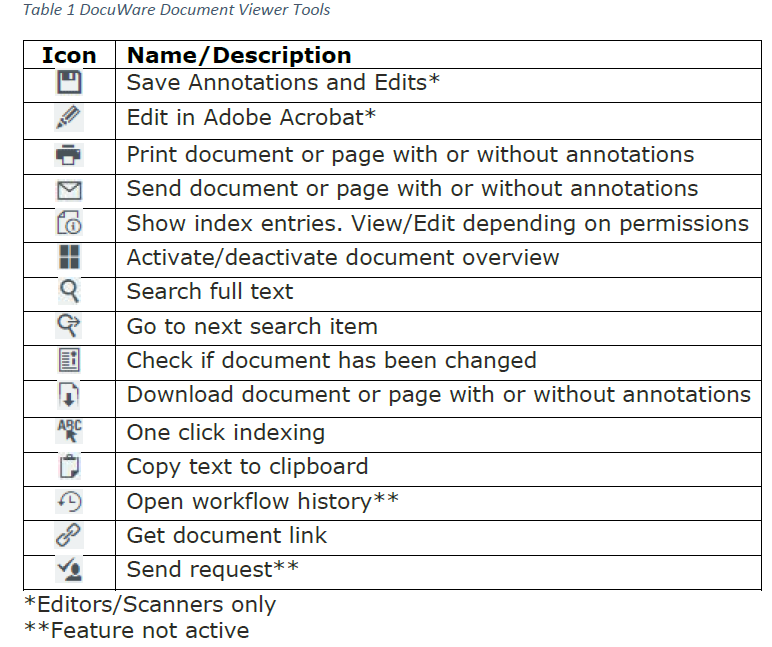
Tools
Most of the tools are available to all DocuWare users. Tools that are only available
to Editors/Scanners are marked by an asterisk in the table below.
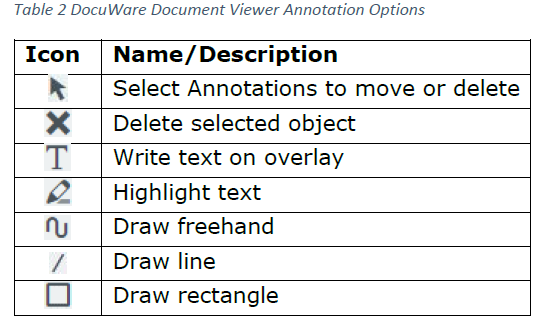
Annotations
Annotations allow you to markup the document in overlay layers that do not destroy
pixels in the original document. Annotations can be saved. Annotations are only available
to Editors and Scanners. If you are a Viewer only, you will not be able to use the
Annotation toolbar.
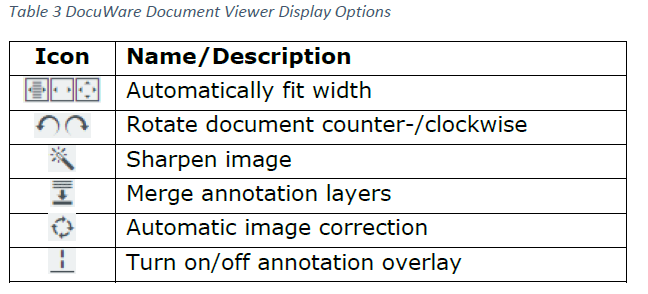
Display
Change the display settings of the document for ease of viewing in the document viewer.
For viewers, the changes are only temporary during the viewing session. Editor and/or
scanners can save changes to display settings of documents.
Customize the Viewer
Customize the toolbars in the Document Viewer to show and hide tools. You can also
add a second right hand toolbar if you prefer.
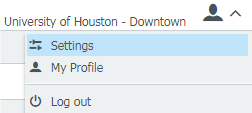
1. Start by clicking the caret next to your user profile.
2. Click Settings.
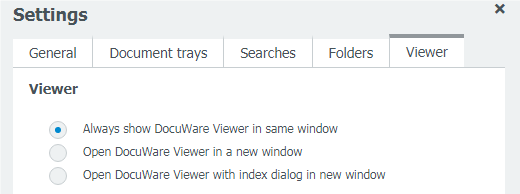
3. Click the Viewer tab in the top level tabs.
Choose if you’d like to the Viewer to open in the same window, or a new window.
4. In the Viewer Toolbars dialogue, expand and collapse the sections using the
plus (+) and minus (-) toggles.
By default, all tools appear in the Left toolbar.
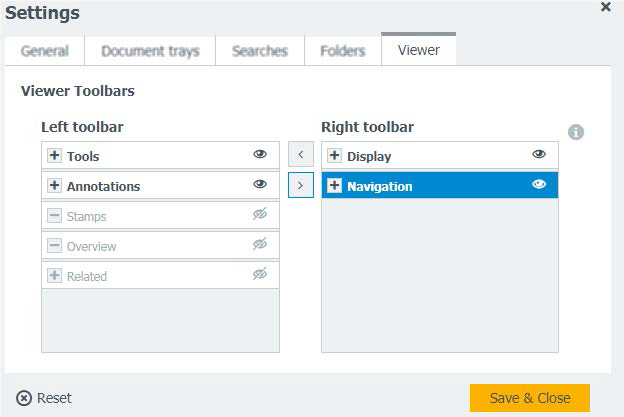
5. To move items into the Right toolbar, click an item in the Left toolbar, then
click the right arrow in the center.
6. Use the Activate/Deactivate options to show and hide tools.
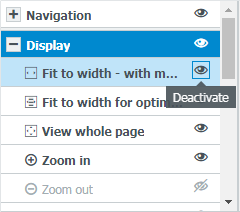
7. After arranging and activating/deactivating toolbars, click Save & Close.
For additional support, email TTLCTRAINING@UHD.EDU.