Log Into Linux Using Putty, WS_FTP or Oracle SQL
Find Your Computer Username
To access UHD computer accounts—including Linux—you need your username and password.
If you don’t know your username:
- Go to myUHD (http://www.uhd.edu/myuhd).
- Click My Personal Profile & Emergency Alerts.
- Enter your Student ID and PIN.
- Scroll to the bottom of the profile page to view your computer username.
For detailed instructions, visit Password Assistance, /password.
Note: If you are off-campus, ensure SSH (Port 22) is not blocked by your firewall.
Login to Linux Using PuTTY
On-Campus
- On a UHD computer, select PuTTY from Start > All Programs.
- Follow steps starting from Step 6 below.
Off-Campus
- Download PuTTY if not installed: PuTTY Download.
- Click putty.exe and save it to your preferred location.
- Double-click the PuTTY icon to launch.
- In the PuTTY Configuration window:
- Host Name:
gator.uhd.edu - Protocol: SSH
- Click Open.
- (Optional) Save the session by typing Gator in Saved Sessions and clicking Save.
- Host Name:
- At the login as prompt, enter your username and press Enter.
- Enter your password (cursor will not move) and press Enter. Once logged in, you’ll see a prompt like:
[username@gator username]$
Access Oracle SQL Using Your Linux Account
- Log into Linux following the steps above.
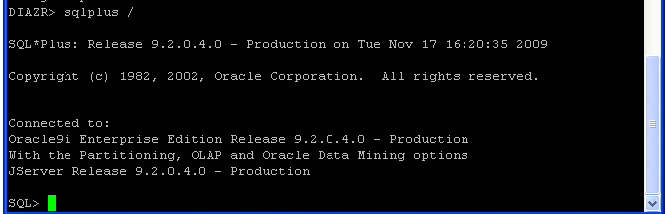
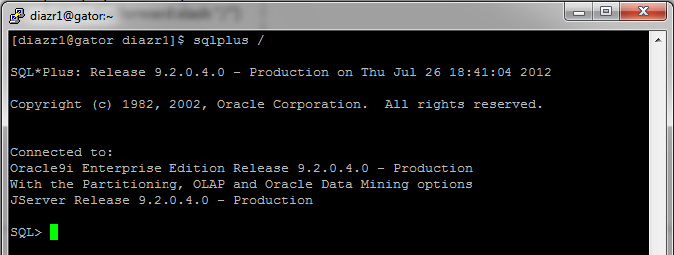
- At the command prompt, type:
sqlplus /and press Enter. - If you have Oracle database access, you’ll see the
SQL>prompt.
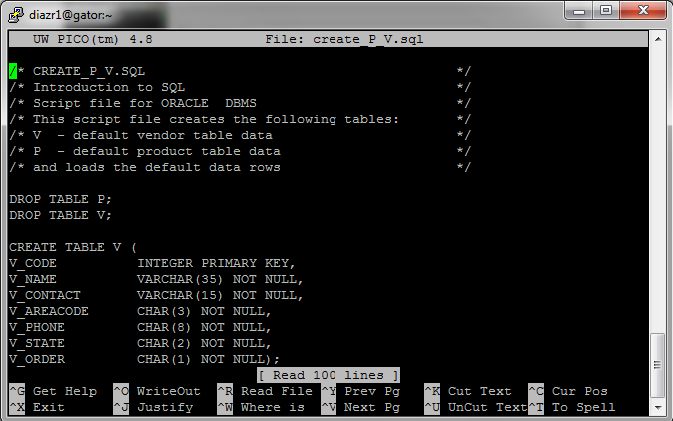
Create an SQL Program File
- Use the Pico text editor:
$ pico yourfile.sql - Ensure the file has a
.sqlextension (Linux is case-sensitive). - Paste your SQL code into the PuTTY session.
- Save and exit:
Ctrl + X, thenY, then Enter.
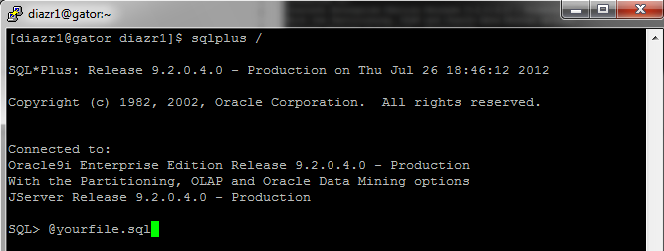
(To exit without saving:Ctrl + X, thenN, then Enter.) - Run your SQL program:
SQL> @yourfile.sql


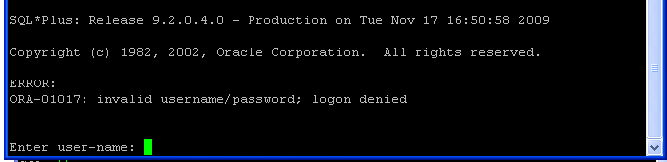
If prompted for a username or encounter issues,
Contact the IT Service Desk
📅 Support Hours:
- Monday – Thursday: 7:30 a.m. – 10:00 p.m.
- Friday – Sunday: 7:30 a.m. – 7:30 p.m.
📞 Phone: 713-221-8031
💬 Live Chat: ithelp.uhd.edu
📧 Email: itservicedesk@uhd.edu
🏢 In Person: ACAD 700 (Walk-in hours: 8:00 a.m. – 5:00 p.m.)