Creating Qualtrics Surveys and Adding Questions
When making survey questions, selecting the right question type ensures that you get the right data in return. Here, we will cover creating surveys, and the many questions types available in Qualtrics.
Creating a Survey
1. Go to the Create Survey tab.
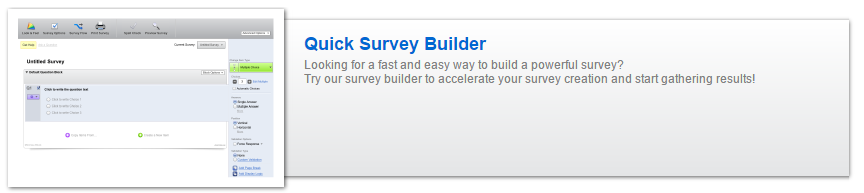
The Create Survey tab has three available options: Quick Survey Builder, Create from Copy, and Survey Library. We will start from scratch using the Quick Survey Builder option.
2. Select Quick Survey Builder
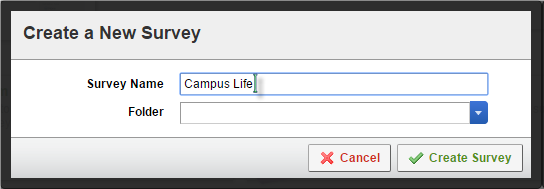
3. Provide a Survey Name and click Create Survey. You can also choose to save your survey in a specific folder, if you have created any. (Surveys can later be moved into folders at any time, from the Manage Folders button located in the My Surveys tab.)
Adding Questions to Surveys
1. Click the Create a New Question button. A multiple choice question will be added to your survey, which is the default question type. Alternatively, you can use the down arrow on the right of the button to select from the various question types available.
![]()
While the Multiple Choice question type is used as a default, it is very easy to select a different question type.
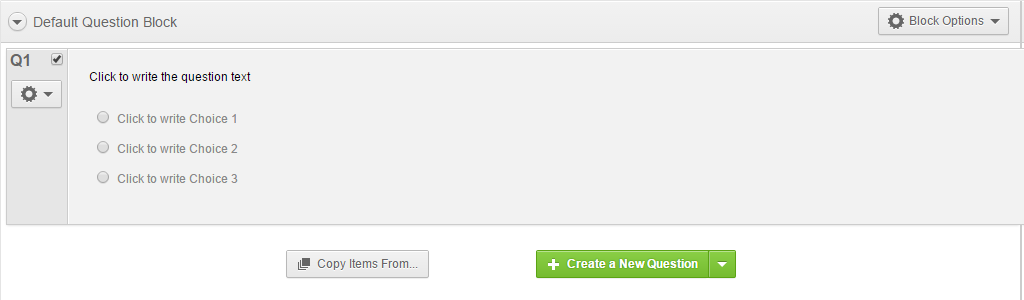
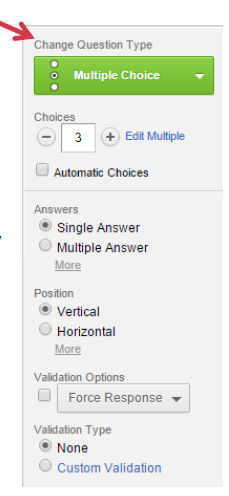
Clicking Change Question Type on the right allows you to change the question you just added. Further down are options allowing you to change aspects of the current question. In the case of a Multiple Choice question, you can change the number of Choices available and the way the choices are presented.
Changing the question type will consequently change the options available to reflect the new question type.
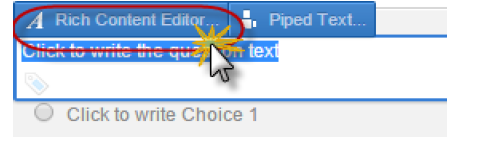
2. Click on any of the default wording to change the question text.

If a more robust editor is needed, click Rich Content Editor.
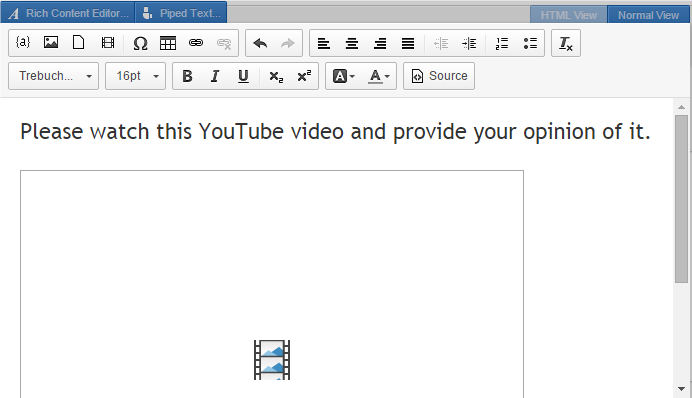
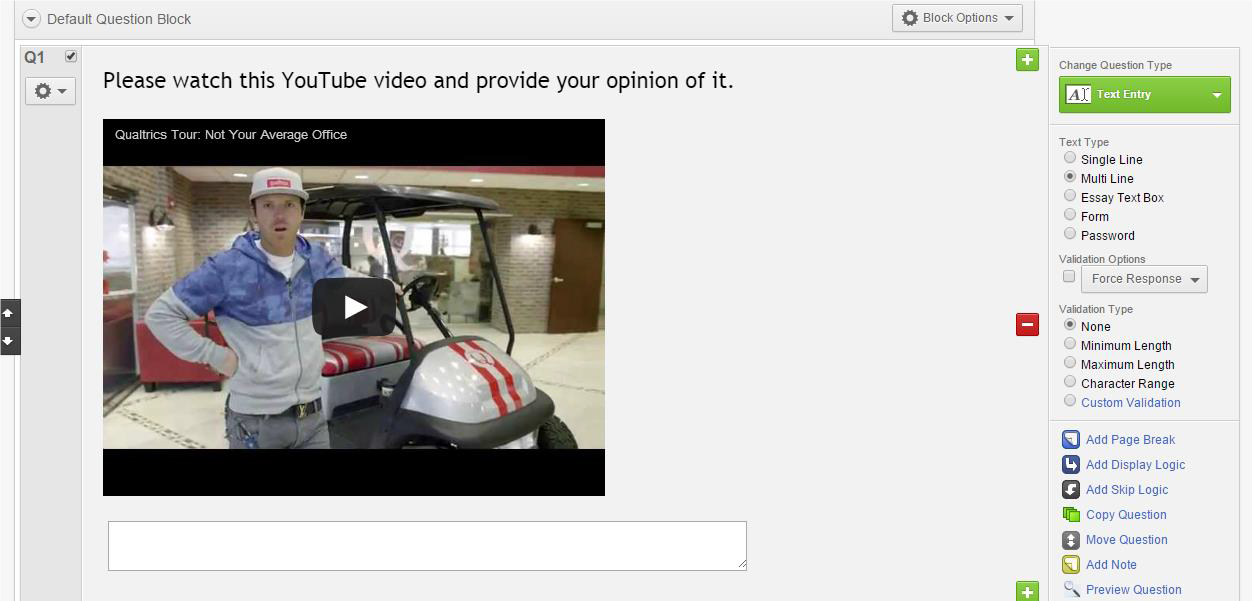
The Rich Content Editor allows you to do many things with your question wording. In the example above, the text font has changed and a YouTube video has been embedded.
Additional questions are added using the same method. There is no “Save” function, either for individual questions or for your surveys. Once a change is made it will be remembered, though if needed you can still remove unwanted changes using the Undo keyboard shortcut (ctrl+z).
More about Question Types
The various Questions Types are organized into categories. To preview a question type, mouse-over it and an example will appear on-screen.
Static Content contains non-interactive elements, such as instructions for your audience.
![]()
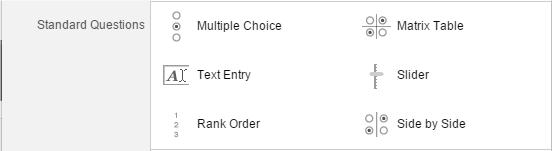
Standard Questions include commonly utilized question types. Besides Multiple Choice, Text Entry gathers open-ended feedback from participants, and Matrix Table has participants use a rating scale on a list of elements.
Specialty Questions may be less common than the Standard Questions, but these questions can fill a gap when you need a specific kind of data.

Advanced includes adding time limits, gathering user information, allowing users to upload files, and using Captcha to verify that participants are real humans.

If you have any questions or comments regarding the steps outlined in this document, please contact UHD TLS Training Services by calling (713) 221-8200, or by sending an email to ttlctraining@uhd.edu.